Gluvy
Gluvy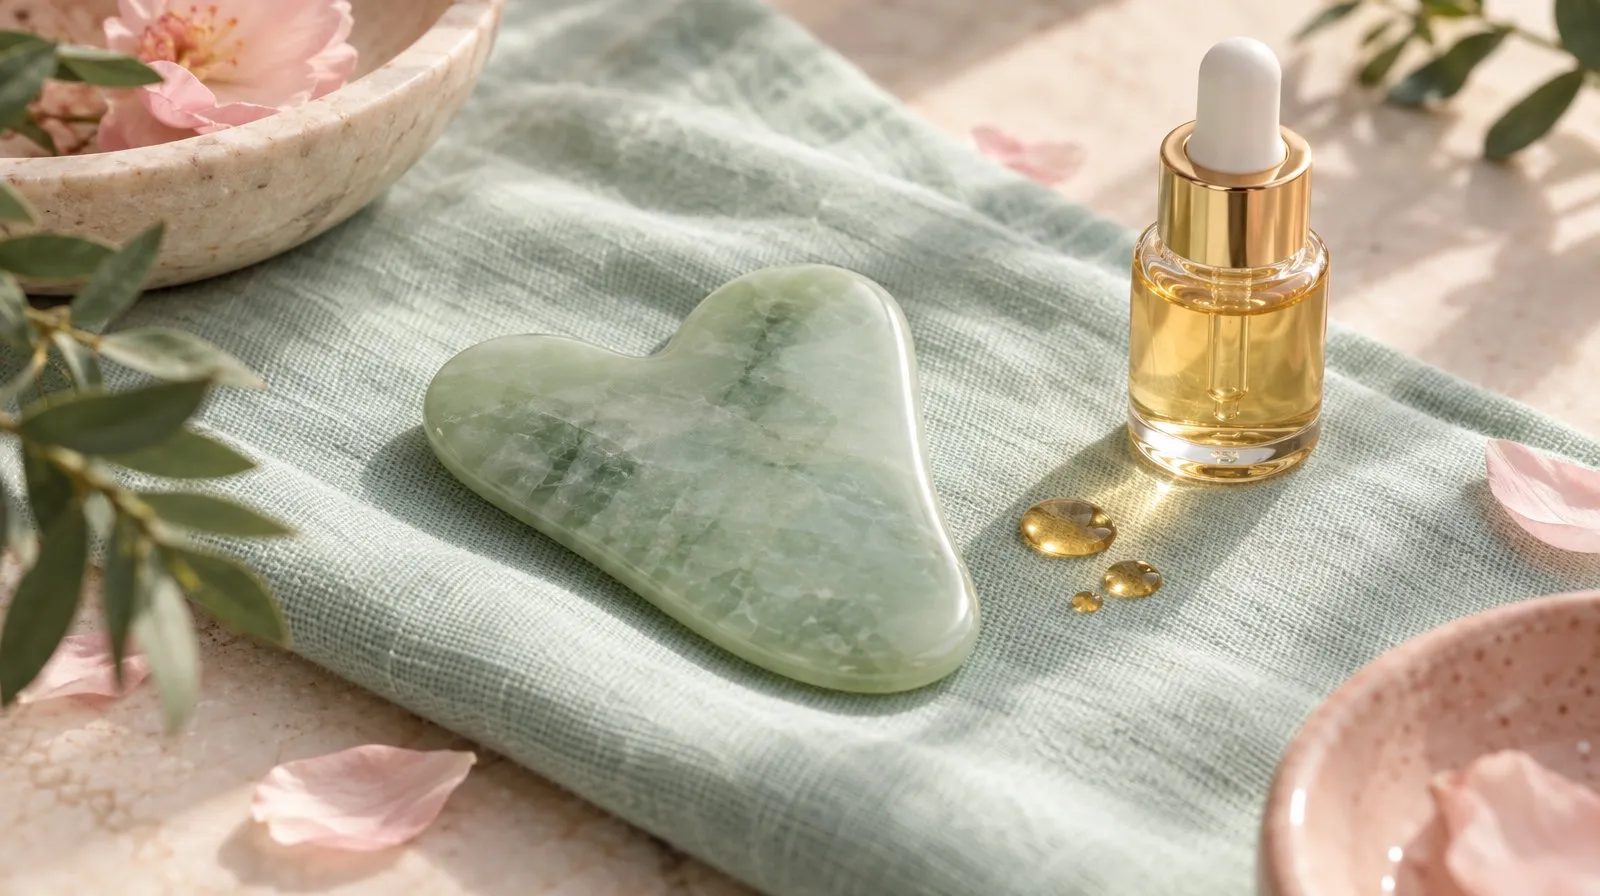
A simple facial gua sha routine takes 5 to 10 minutes. To use a gua sha stone on your face: cleanse, apply facial oil, hold the stone almost flat (about 15–45° to the skin) and glide it outward in slow, light strokes, three to five times per area, starting at the neck and working up through the jawline, cheeks, under-eyes and forehead. Keep the pressure gentle: facial gua sha should never hurt or leave marks. Here is each step in detail.
What you need
- A gua sha stone. A flat stone with a curved edge and a notched (heart- or wing-shaped) edge is the easiest to start with. Jade and rose quartz are the most common materials; the shape matters more than the stone.
- Facial oil or a slippy serum. Enough to let the stone glide without dragging.
- A clean face and clean hands.
- 5 to 10 minutes.
Tip: some people keep the stone in the fridge for a few minutes before using it, because a cool stone feels refreshing on the skin, especially in the morning.
How to hold the stone
Hold the stone so it lies almost flat against your skin, at an angle of roughly 15 to 45 degrees. The flatter it is, the gentler the stroke. Use the long curved edge on wide areas (cheeks, forehead, neck) and the notched edge to hug the jawline.
Move in one direction only, from the centre of the face outward, and lift the stone off at the end of each stroke rather than scrubbing back and forth. Three to five strokes per area are enough.
Step-by-step: gua sha from neck to forehead
1. Prepare your skin
Cleanse your face with lukewarm water and pat it dry. Apply a generous layer of facial oil or serum to your face and neck. If the stone starts to tug at any point, add more. Our guide to the best oil for facial massage helps you pick one for your skin.
2. Start with the neck
Place the stone under your chin and glide it down and out toward the area behind your ear, then down the side of the neck toward the collarbone. Starting here is the traditional order: the idea is to “open” the neck before working on the face. Keep this stroke especially light over the front of the throat. Our gua sha neck guide covers the safe zones and a full neck sequence.
3. Trace the jawline
Fit the notched edge of the stone along your jawbone with the bone sitting in the notch. Glide from the tip of your chin along the jaw to just below your earlobe. Repeat three to five times, then switch sides. This is one of the most popular strokes, and it pairs well with the moves in our guide to jawline exercises.
4. Sweep the cheeks
Lay the long edge of the stone beside your nose and glide outward along and just under the cheekbone toward your ear or temple. You can use slightly more pressure here than anywhere else on the face, but it should still feel comfortable.
5. Under the eyes (very gently)
Using the lightest touch of the session, glide from the inner corner of the eye outward toward the temple, staying on the bone below the eye. Never press on the eye itself. A cool stone can feel pleasant here in the morning.
6. Brows and forehead
Glide from the middle of the brow outward along the brow bone. Then sweep upward from the brows to the hairline, working across the forehead from the centre to the temples.
7. Finish
Finish with a few long strokes from the temples down the sides of the neck. Pat any oil left on your skin, then clean your stone (see below).
How often to do gua sha
- Beginners: about three times a week, 5 to 10 minutes per session.
- Once your skin is used to it: you can build up to most days, as long as your skin stays calm.
- Morning or evening? Both work. Morning sessions tend to be quicker and more refreshing; evening sessions can be slower and more relaxing, with a richer oil.
Common mistakes to avoid
- Not using enough oil. This is the most common mistake. A dry stone drags the skin and can cause irritation.
- Pressing too hard. Facial gua sha is not a deep-tissue massage. Light to medium pressure is enough; bruising means it was too much.
- Holding the stone upright. An upright edge digs in. Keep it almost flat.
- Scrubbing back and forth. Use slow strokes in one direction and lift the stone between strokes.
- Using it on irritated skin. Avoid active acne, infections, sunburn, cuts, rashes and areas with recent cosmetic treatments.
Cleaning and caring for your stone
Wash the stone after every use with warm water and a gentle soap, then dry it with a soft cloth. Store it somewhere it can’t fall: natural stones chip and crack easily. Don’t share it with other people without cleaning it first.
What gua sha can and can’t do
Facial gua sha is a form of gentle self-massage. Many people enjoy it because it is relaxing and makes the face feel refreshed, and some find that it helps their face look less puffy in the morning. However, there is little high-quality scientific research on facial gua sha, so be wary of anyone promising specific, lasting changes to the shape of your face. Enjoy it as part of your routine, not as a treatment. Our complete guide to gua sha covers its history, how facial and body gua sha differ, and what the studies actually measured.
Follow along with Gluvy
Reading the steps is one thing; getting the angle and the order right is easier when you can watch. Gluvy’s gua sha courses include about 34 guided video routines, from jawline and cheek strokes to brow, nose and neck routines, with a timer for every step. If you’re new to facial exercises, our 5-minute face yoga routine for beginners is a good companion to gua sha.
Frequently asked questions
Which direction should you use gua sha on your face?
Work from the centre of the face outward and from the bottom up: neck first, then jawline, cheeks, under-eyes and forehead. Each stroke moves in one direction, toward the ears or hairline, rather than back and forth.
How often should you use gua sha on your face?
Beginners can start with about three sessions a week of 5 to 10 minutes. If your skin is comfortable, you can build up to most days. Take a break if you see redness that lasts or any bruising.
Should gua sha leave red marks on the face?
No. Traditional body gua sha is meant to cause redness, but facial gua sha uses light pressure and should not leave marks. Mild pinkness that fades in minutes is normal; bruising means you pressed too hard.
Can I use gua sha without oil?
It's better not to. A dry stone drags the skin and can irritate it. Use enough facial oil or a slippy serum that the stone glides without tugging.
Is gua sha good for acne-prone skin?
Avoid areas with active breakouts, infection, sunburn, cuts or irritation, because the stone can spread bacteria and aggravate inflamed skin. If you have a skin condition, ask a dermatologist first.

Practise this with Gluvy. Follow-along videos with a timer for every step. See Gluvy's gua sha video courses.
Download on theApp Store
The team that builds Gluvy writes these guides from the app's own face yoga, gua sha and skincare courses. We are not doctors or dermatologists: articles are general wellness information, and we link to the research where it exists.
This article is general wellness information, not medical advice. Talk to a doctor or dermatologist if you have a skin, jaw or other medical condition.